Kloxo-MR is another alternative of free web hosting / server control
panel that can be solution for you who don’t want to manually install
webserver, MySQL and PHP. The software is basically a fork of original
Kloxo CP by LXCenter. The MR part of Kloxo-MR is Mustafa Ramadhan, the
one who did the fork, enhance and develop this truly modified version. I
posted that Kloxo users should be more aware because it has recently got new exploit but then Mustafa Ramadhan claimed that Kloxo-MR is not vulnerable with the same exploit.
I was never use Kloxo (and Kloxo-MR) before not because it’s bad but Kloxo is too complete for a free web panel. It has a bunch of advanced features making new users a bit frustrated in using it for the very first time. But then I decide to write a tutorial about it and I choose Kloxo-MR.
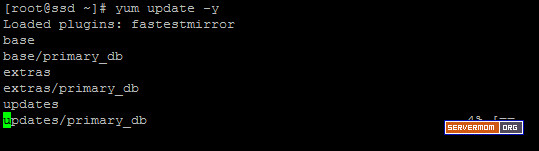
Step 2 – To make sure all things are updated, run ym update command:
wait for the process to complete
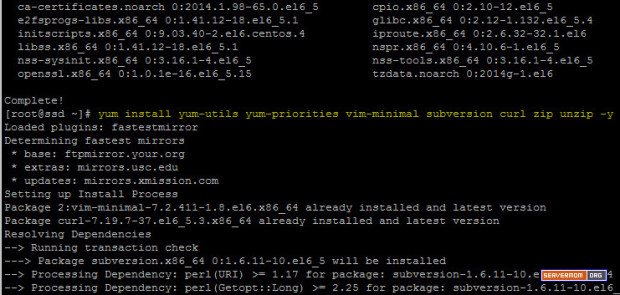
Step 3 – Issue this command to install some necessary packages:
Also this one:
Step 4 – Make sure SELinux is disabled. You can check it with this command:
sample output:
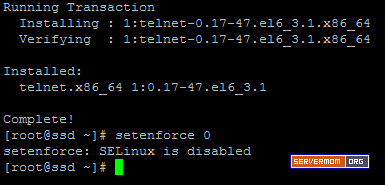
if not, you can disable it using this command:
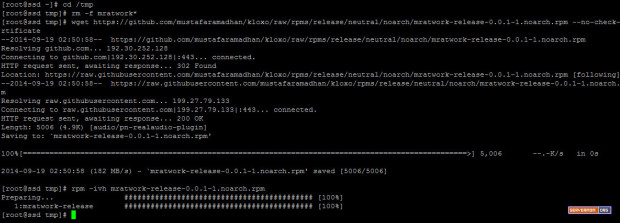
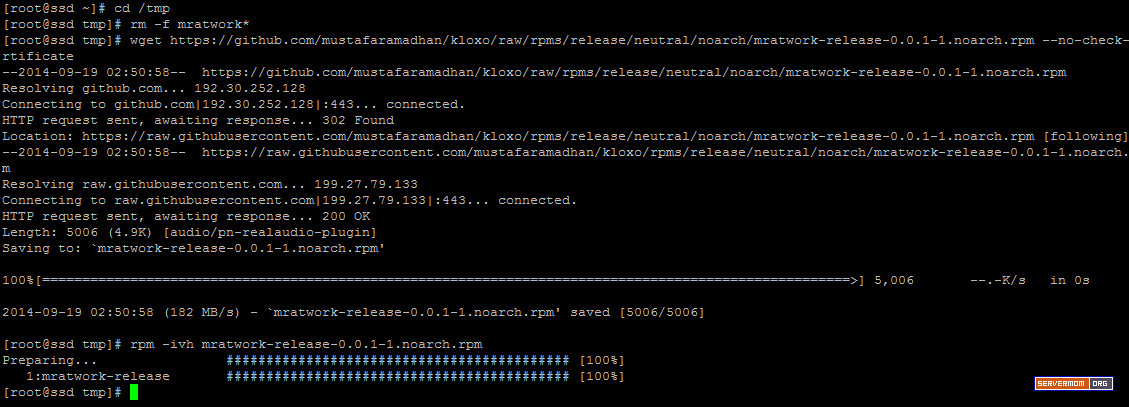
Step 5 – Now you can add repo URL of Kloxo-MR. Currently -during I write this post- there are two main version: v6.5.0 and v7.0.0. This guide will show you how to install Kloxo-MR v7.00. Start by changing directory to /tmp.
then remove old .rpm if any:
Then download the repo file using wget:
pic:
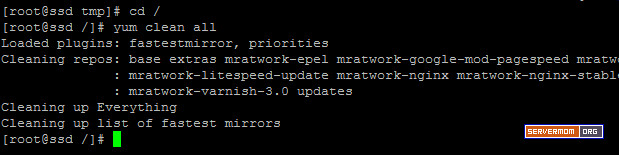
then go back to upper directory
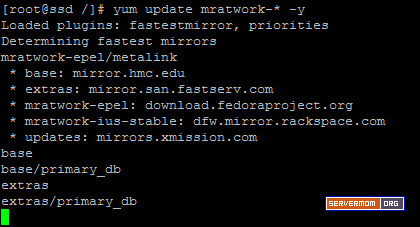
Step 6 – Now issue these series of command before we proceed to the install process:
pic:
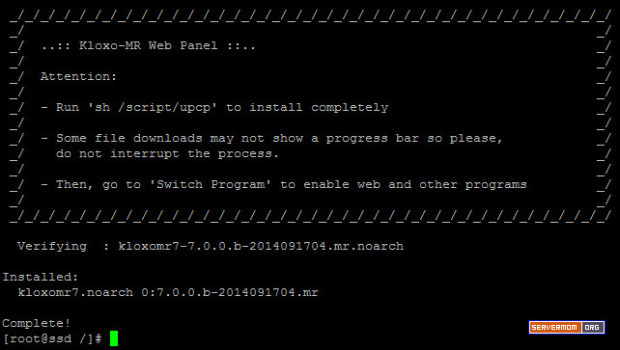
Step 7 – Now begin the install process with this command:
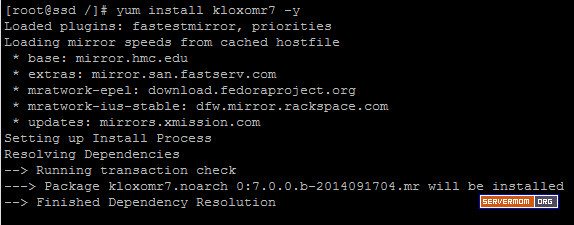
Once done you’ll see something like this:
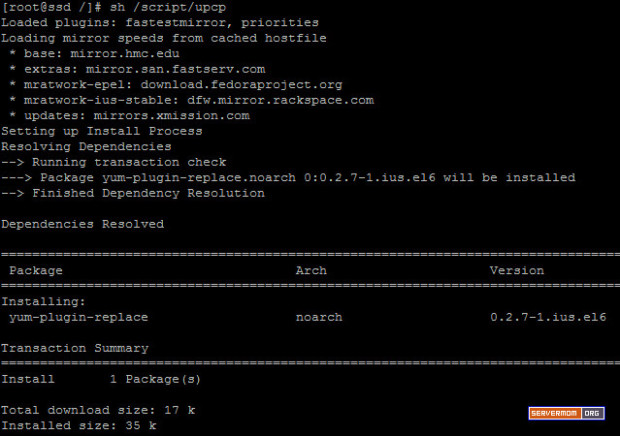
Step 8 – Now the last magic command to issue is:
That will install everything so the process will be a little bit
longer than any previous command above so sit tight and wait till it
finished.
And once done you’ll see something like this:
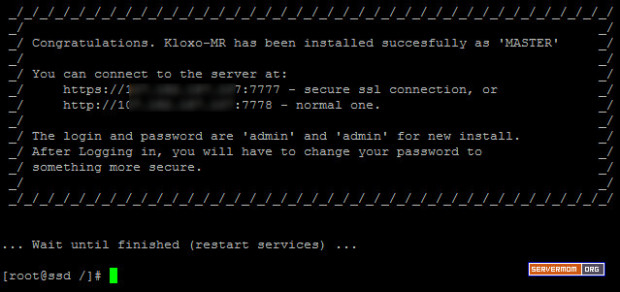
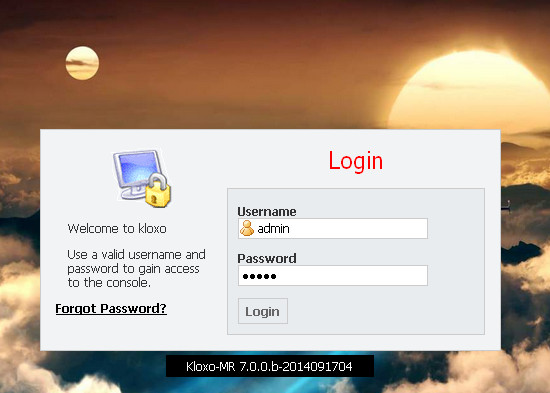
Step 9 – Now open up your favorite web browser and login to Kloxo-MR admin page for the very first time:
https://1ip-address:7777 – secure ssl connection, or..
http://1ip-address:7778 – normal one.
Default username is admin and password is admin.
That’s it. Wait for my next article. Do not forget to follow
I was never use Kloxo (and Kloxo-MR) before not because it’s bad but Kloxo is too complete for a free web panel. It has a bunch of advanced features making new users a bit frustrated in using it for the very first time. But then I decide to write a tutorial about it and I choose Kloxo-MR.
Why Kloxo-MR?
Did I explain it’s not too vulnerable already? Now it’s time to check its key features which I think too complete and best of all you can get it without paying a penny. Let’s check out:- Supported OS: Redhat / CentOS 5 and 6 (32bit and 64bit) or their variants
- Billing Software: AWBS, WHMCS, HostBill, TheHostingTool, AccountLab Plus and Blesta (note: claim by billing’s author)
- Web server: Nginx, Nginx-Proxy and Lighttpd-proxy; beside Httpd and Lighttpd (in progress: Varnish, Hiawatha, ATS and Httpd 2.4) *)
- Php: Dual-php with php 5.3/5.4 as primary and php 5.2 as secondary (in progress: multiple-php) *)
- PHP-type for Apache: php-fpm_worker/_event and fcgid_worker/_event; beside mod_php/_ruid2/_itk and suphp/_worker/_event
- Mail server: qmail-toaster instead special qmail (in progress: change from courier-imap to dovecot as imap/pop3) *)
- Database Server: MySQL or MariaDB
- Database Manager: PHPMyAdmin; Adminer, MyWebSql and SqlBuddy as additional **)
- Webmail: Afterlogic Webmail Lite, Telaen, Squirrelmail and Roundcube; Horde and T-Dah dropped
- FTP server: Pure-ftpd
- DNS Server: Bind and Djbdns; ready testing for Powerdns, MaraDNS and NSD *)
- Addons: ClamAV, Spamassassin/Bogofilter/Spamdyke and RKHunter
- Fixed many bugs of Kloxo Official (including security issues)
- And many more!
Prerequisites
Some stuff you need before installing:- A VPS or Dedicated Server (DS) running CentOS. In this tutorial I use (recommended) CentOS 6 x86_64 minimal.
- Ability to use SSH Client like Putty (or Terminal on Linux and Mac)
- Basic knowledge of Linux command
- About 30 minutes of your spare time
- A cup of Coffee or Tea if you like.
How to Install
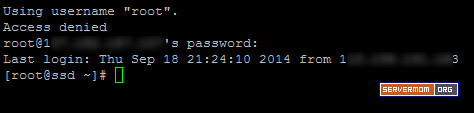
Step 1 – Login to your server as root:Step 2 – To make sure all things are updated, run ym update command:
1
| yum update -y |
Step 3 – Issue this command to install some necessary packages:
1
| yum install yum-utils yum-priorities vim-minimal subversion curl zip unzip -y |

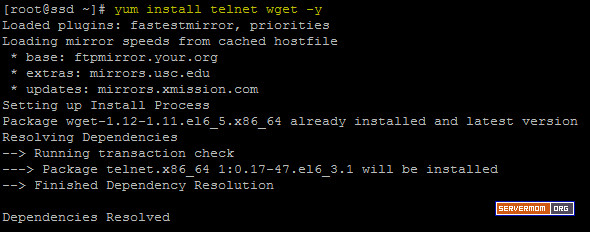
Also this one:
1
| yum install telnet wget -y |
Step 4 – Make sure SELinux is disabled. You can check it with this command:
1
| setenforce 0 |
if not, you can disable it using this command:
1
| echo 'SELINUX=disabled' > /etc/selinux/config |
1
| cd /tmp |
1
| rm -f mratwork* |
1
2
| wget https://github.com/mustafaramadhan/kloxo/raw/rpms/release/neutral/noarch/mratwork-release-0.0.1-1.noarch.rpm --no-check-certificaterpm -ivh mratwork-release-0.0.1-1.noarch.rpm |
then go back to upper directory
1
| cd / |
1
2
| yum clean allyum update mratwork-* -y |
Step 7 – Now begin the install process with this command:
1
| yum install kloxomr7 -y |
Once done you’ll see something like this:

Step 8 – Now the last magic command to issue is:
1
| sh /script/upcp |

And once done you’ll see something like this:
Step 9 – Now open up your favorite web browser and login to Kloxo-MR admin page for the very first time:
https://1ip-address:7777 – secure ssl connection, or..
http://1ip-address:7778 – normal one.
Default username is admin and password is admin.
That’s it. Wait for my next article. Do not forget to follow


0 comments:
Post a Comment